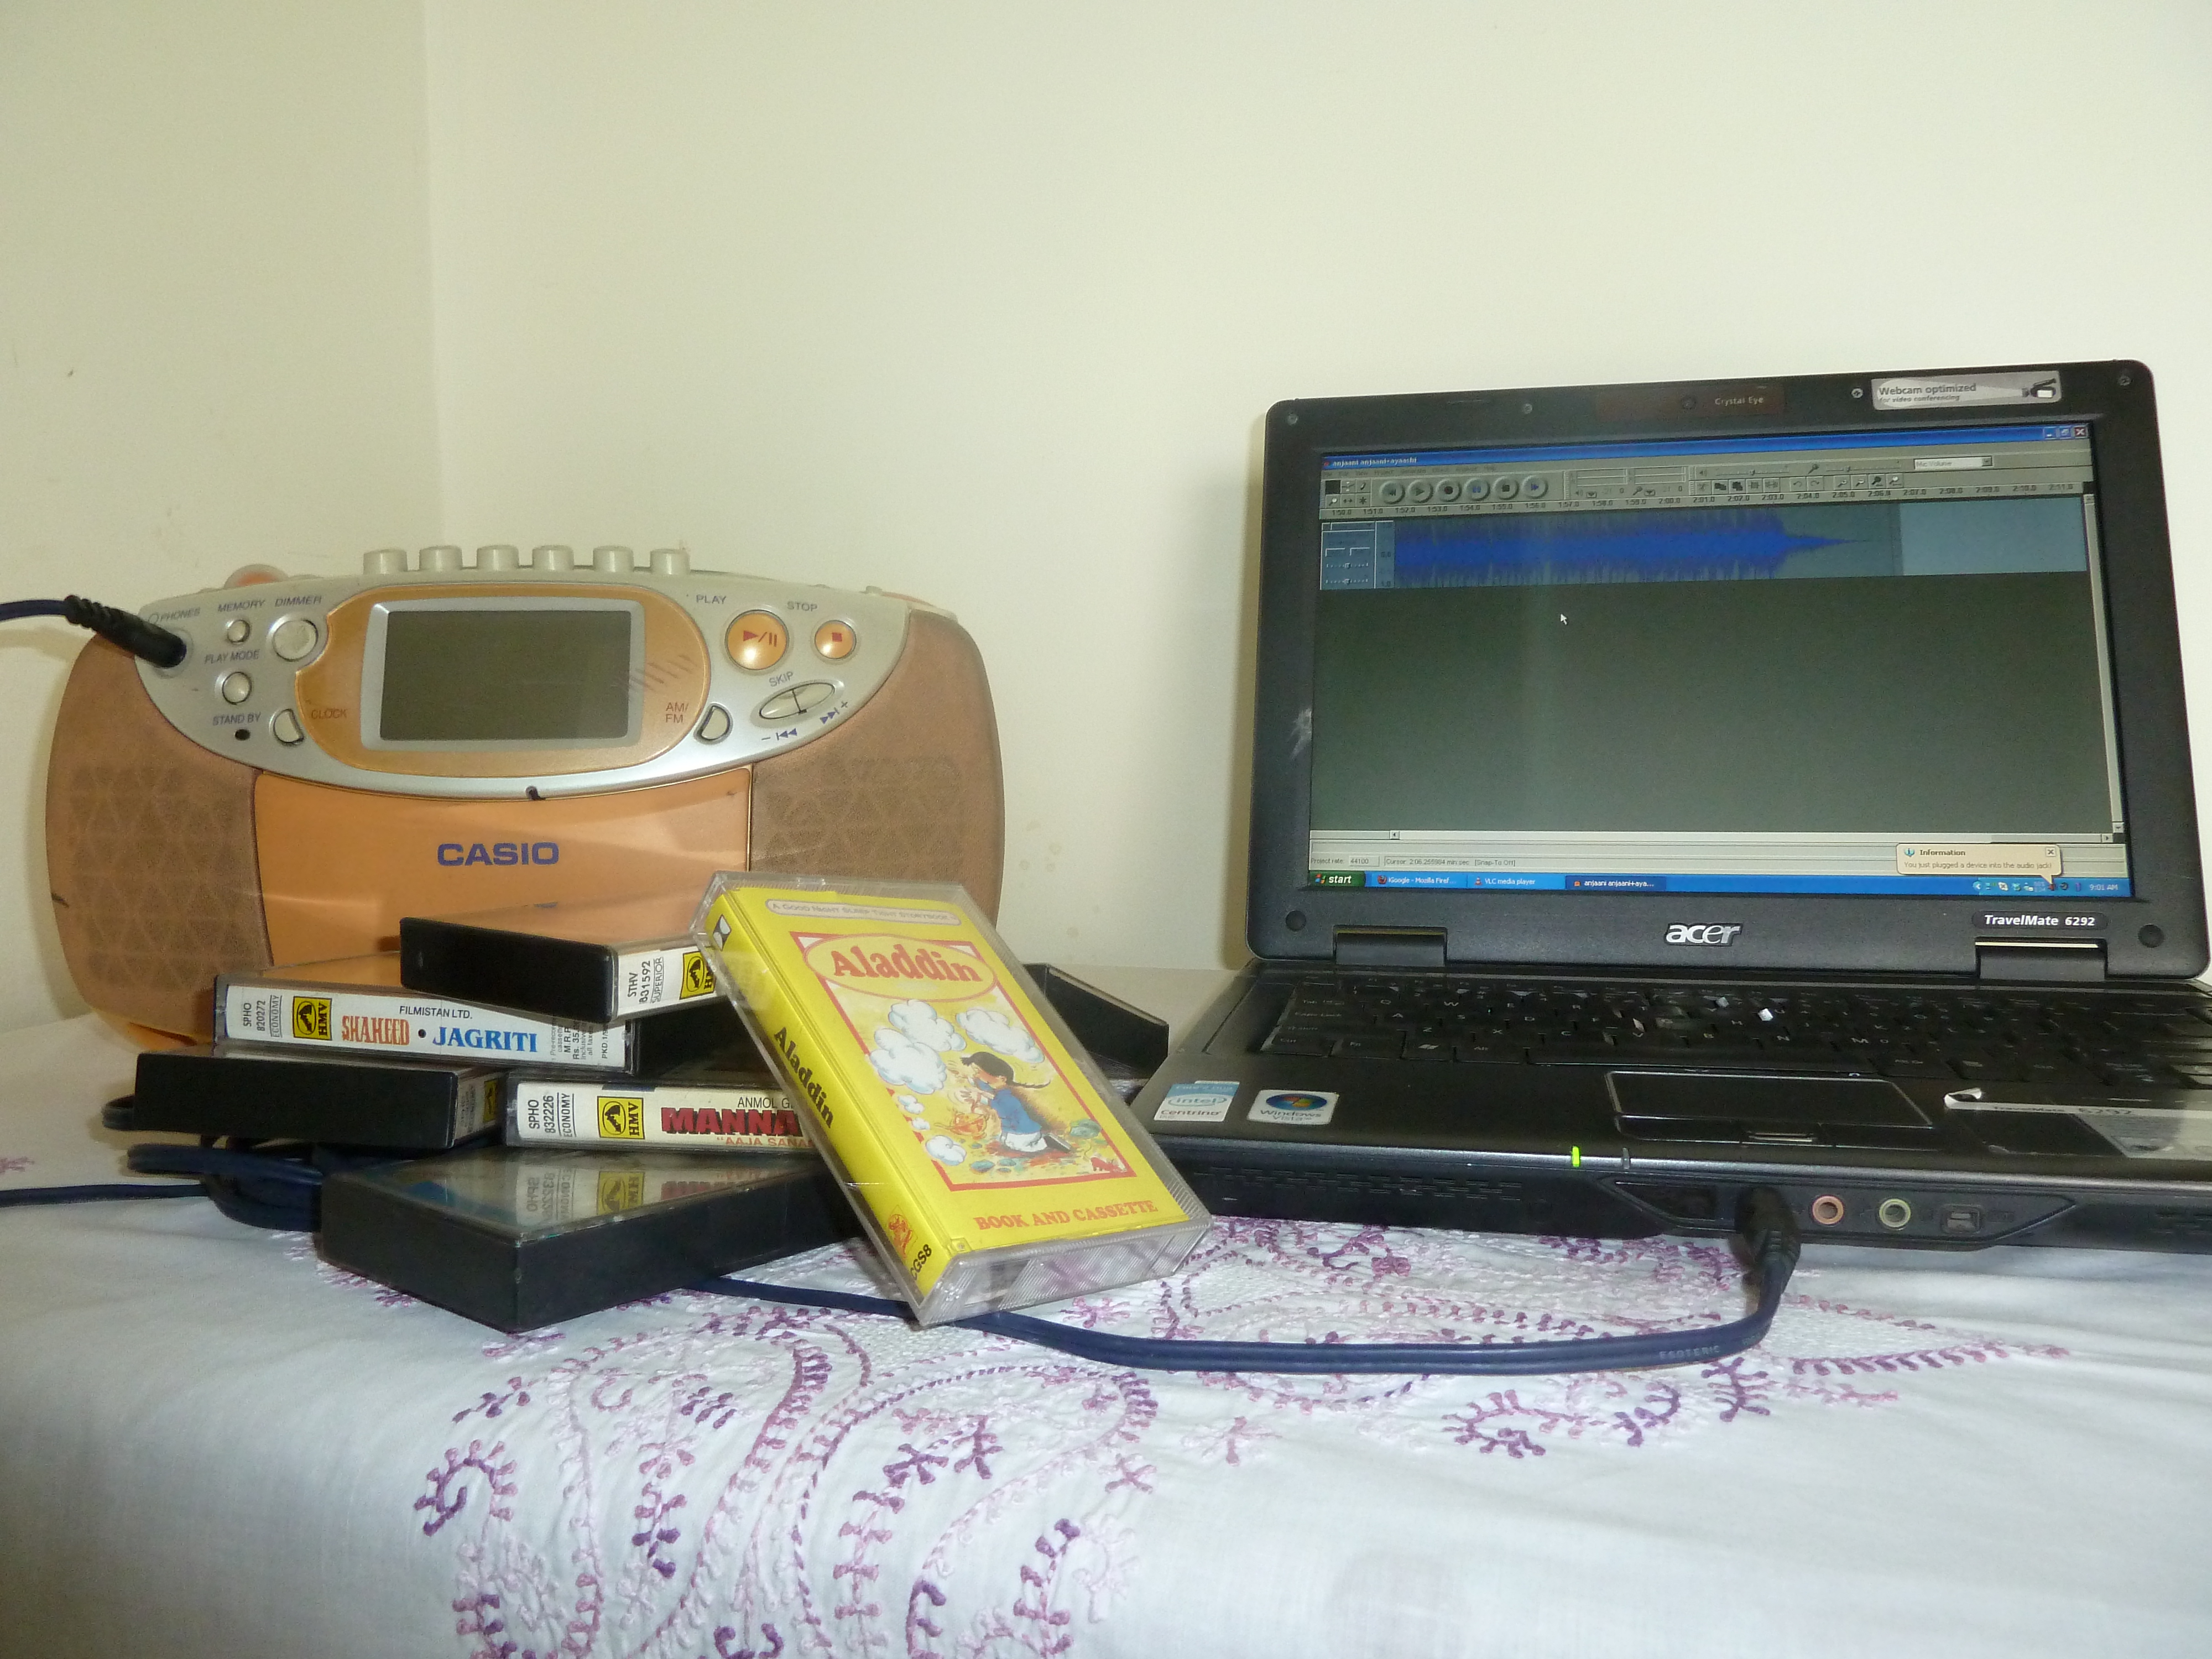
I have caught the ‘de-clutter and organise’ bug this year and during this process have organised my insanely huge collection of books, photographs and music. This led me to my boxes of audio cassettes from 20 years ago, music that I used to love during college and that now cannot be found in a CD format or online download. My cassettes were sorted by what could and could not be trashed, and there was little that I wanted to let go. A strategy was required to bring this much loved music to my trusty iPod, and a plan was born.
It was all about converting this analog music to a digital format. I dug out my old Casio tape deck, commandeered my son’s line in-line cable and with free software on my laptop, was ready to bring my classic cassette tapes into the modern age. It is a time consuming process but as simple as 1-2-3:
1) Play tape.
2) Capture audio in WAV format on laptop.
3) Convert .wav to mp3/ogg/wma, etc.
A walkman works just as well as a cassette player but remember to check the sound quality of the player and tapes before you go through all the effort. A distorted recording is not what you expect to hear on your iPod. Use the stereo patch cord to connect your cassette player and computer, inserting one end into the “Audio Out” or headphone jack of your stereo and one into the “Audio In” jack on your computer. Please note that this is NOT the microphone jack, but the blue one.
For recording software, download Audacity from http://audacity.sourceforge.net/, an open-source, cross-platform program for recording and editing audio. It’s available for Windows, Mac, and Linux. To save music from your tapes as WAV files for backup and convert to MP3 files for your iPod, get the LAME MP3 encoder as well from the Audacity download page. Detailed instructions on setting up the LAME MP3 encoder are included.
The steps to digitize your analog audio cassettes are:
Step 1: Install and run Audacity on your laptop or desktop.
Step 2: Click the “Record” button in Audacity or Sound Recorder, and then press the “Play” button on your audio cassette recorder. Recording should be set in stereo for best results.
Step 3: When the song is completed, click the “Stop” button in Audacity or Windows Sound Recorder. Save your file in MP3 by clicking the File –>Export as MP3, button in Audacity. Type the file name when prompted and press the “Enter” key.
Step 4: Import MP3 file into iTunes to move to your iPod or burn to CD.
I set an alarm for 30 minutes for recording each side of a cassette as one file consisting of multiple songs. This recorded file can be split into separate files for individual songs on your iPod, however, this can take some time. It’s a good idea to keep a backup of all your digitized files on a CD and then you can finally let go of your old audio cassettes. Now is the perfect time to convert your cassettes into MP3 files or Windows Media Audio before they’re gone forever.


